

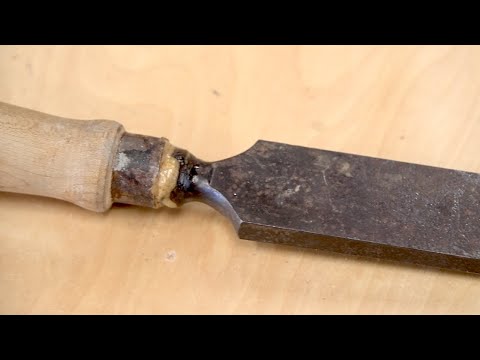
Old chisels can be restored to like-new condition with a little time and effort. First, use a file or grinder to remove any nicks or burrs from the cutting edge. Next, use sandpaper to remove any rust from the blade.
Finally, sharpen the blade using a honing stone. With a little care, your old chisel will last for years to come.
- Choose the right type of abrasive paper for your chisel
- If you’re not sure, ask a professional at your local hardware store
- Wet the paper and apply it to the chisel in a circular motion
- Use progressively finer grits of paper until you’re happy with the results
- Rinse the chisel with water and dry it off before using it again
CHISEL RESTORATION: HOW TO BRING RUSTY TOOLS BACK TO LIFE!!!
How Do You Restore a Chisel?
If your chisel has lost its edge, you can restore it with a few simple steps. First, use a honing guide to hold the chisel at the correct angle as you sharpen it. Second, use a sharpening stone to grind away any nicks or burrs on the edge of the blade.
Third, use a strop to further polish the edge of the blade. Finally, test the sharpness of the chisel by slicing through paper or wood. If your chisel is very dull or damaged, you may need to start with a coarse sharpening stone before moving on to a finer one.
You may also need to repeat the honing and stropping process several times before your chisel is restored to its original sharpness.
How Do You Remove Rust from Old Chisels?
If you have some old chisels that are starting to rust, don’t worry – there are several ways to remove the rust and get them back to their original condition. Here are a few methods you can try: 1. Use white vinegar.
Soak the chisel in white vinegar for a few hours or overnight, then scrub it with a stiff brush to remove the rust. Rinse it off with water and dry it thoroughly. 2. Use lemon juice.
Another option is to soak the chisel in lemon juice for a couple of hours, then scrub and rinse it as above. You can also use lime juice if you have it on hand. 3. Use baking soda and aluminum foil.
Make a paste out of baking soda and water, then rub it onto the rusty areas of the chisel using a piece of aluminum foil as your abrasive pad. Rinse it off when you’re done and dry it well. 4. Use steel wool or sandpaper.
For more stubborn rust, try rubbing the affected area with steel wool or sandpaper until the rust comes off.
How Do You Sharpen a Damaged Chisel?
Chisels are one of the most important tools in a woodworker’s arsenal, but they can also be one of the most frustrating. A dull chisel is useless, and a sharp chisel is dangerous. In between those two extremes is a happy medium that allows you to get the job done without wrecking your work or risking injury.
The first step in sharpening a damaged chisel is to remove any nicks or burrs from the edge with a file. If the damage is severe, you may need to use a grinding wheel to get the edge back into shape. Once the edge is smooth, it’s time to start honing.
The best way to do this is with a honing guide, which will hold the chisel at the correct angle and prevent you from over-sharpening or creating an uneven edge. Start with a coarse grit stone and move up to finer grits until you have a razor-sharp edge. If your chisel still isn’t cutting as cleanly as you want, it may be time to invest in a new one.
But if you take care of your tools and sharpen them regularly, they should last for years.
How Much of a Chisel Back Needs to Be Flat?
When it comes to chisels, the back refers to the flat surface of the blade. This is what you’ll use to strike the chisel with a mallet or hammer in order to cut into your workpiece. As for how much of the back needs to be flat, it really depends on what you’re using the chisel for.
If you’re doing general woodworking, then having a completely flat back isn’t critical since you can just adjust your grip as needed. However, if you’re doing precision work or working with delicate materials, then you’ll want to make sure that most of the back is nice and flat so that each blow is consistent.

Credit: www.manmadediy.com
Restoring Old Woodworking Tools
If you’re a woodworker, chances are you have a few old tools kicking around that could use a little love. Whether they’re heirlooms or just well-loved hand-me-downs, restoring old woodworking tools can be a fun and rewarding project. Here are a few tips to get you started:
1. Start with the basics. Give your tools a good cleaning and inspection before starting any repairs. This will help you assess what needs to be done and gather the necessary supplies.
2. Be gentle with rusty parts. If your tool has any rust on it, gently remove it with sandpaper or steel wool. Don’t use anything too abrasive, as you don’t want to damage the metal beneath the rust.
3. Replace missing parts. If any of your tool’s parts are missing or damaged beyond repair, you’ll need to replace them before proceeding with the restoration. Check with your local hardware store or online retailers for replacement parts that match your tool’s make and model.
4 . Fix broken handles. One of the most common issues with old woodworking tools is broken handles.
To fix this, simply glue the handle back in place using strong epoxy. Once the glue has dried, reinforce it by wrapping the joint in electrical tape or twine.
5. Sand away rough edges After all of the major repairs have been made, it’s time to give your tool a good once-over with sandpaper. This will smooth out any rough edges left behind by previous damage. Start with coarse sandpaper and work your way up to finer grits until everything is nice and smooth
6. Apply a finish Once your tool is repaired and sanded, it’s time to protect it from future wear and tear. Apply a clear finish such as lacquer, polyurethane, or wax. This will also help restore its original luster if it’s been dulled over time .
7. Enjoy your newly restored tool! With these tips, you should be able to bring new life into even the oldest of woodworking tools!
Cold Chisel
There are few Australian bands as iconic as Cold Chisel. Formed in 1974, the band went on to become one of the country’s most successful groups, with a string of hits that included “Khe Sanh”, “Flame Trees”, and “Saturday Night”. Now, almost 40 years later, Cold Chisel is back with a new album, The Perfect Crime.
It’s their first studio release in 14 years, and it’s already been met with critical acclaim. If you’re a fan of Cold Chisel (or even if you’re not), here are 10 things you need to know about the band: 1. They got their start in Adelaide.
Cold Chisel was formed in Adelaide, South Australia by singer Jimmy Barnes, guitarist Ian Moss, bass player Phil Small, and drummer Steve Prestwich. The name ‘Cold Chisel’ comes from a type of tool used for cutting metal; Barnes came up with it after seeing it written on the side of a truck.
How to Repair Chipped Chisel
If you have a chipped chisel, don’t despair! With a little effort, you can repair it and get back to your woodworking projects. First, gather the following supplies:
- A hammer
- A file or abrasive paper
- An old toothbrush (or other soft brush)
- Super glue or epoxy adhesive
- A block of wood (optional)
Now, follow these steps to repair your chisel:
1. If the chisel is very dull, sharpen it before proceeding. A sharp chisel will be easier to work with and will produce a better result.
2. Examine the chip to determine its size and shape. If it is large or irregularly shaped, you may want to use a file or abrasive paper to remove some material from around the chip so that it can be repaired more easily.
3. Clean any debris out of the chip with an old toothbrush (or other soft brush). This will help the adhesive bond better later on.
4. Apply super glue or epoxy adhesive to the edges of the chip, being careful not to get any on the working surfaces of the chisel blade.
How to Sharpen Chisels
If you’re a woodworker, sooner or later you’ll need to sharpen your chisels. It’s not difficult, but there are a few things you need to know in order to do it correctly. First, you’ll need to choose the right sharpening stone.
There are many different types on the market, so do some research to find the one that’s right for your needs. Second, you’ll need to know how to properly hold the chisel while you’re sharpening it. The bevel (the angled edge of the blade) should be facing down and resting on the stone.
Third, use even strokes and light pressure while sharpening. You don’t want to damage the blade by over-sharpening it.Fourth, once the blade is nice and sharp, you’ll need to honed it with a honing rod or strop. This will help keep the edge nice and keen between sharpenings.
Finally, always clean and oil your chisels after using them; this will prevent rust and keep them working like new for years to come!
Firmer Chisel
Chisels are one of the most important tools in a woodworker’s arsenal. They come in all shapes and sizes, but they all have one thing in common – the blade. The blade is what does the work, so it’s important to choose the right one for the job.
When it comes to firmer chisels, there are a few things to keep in mind. First, these chisels have a beveled edge, which means they can be used for both chopping and paring cuts. Second, the blade is slightly thicker than other types of chisels, which gives it more strength and durability.
Finally, firmer chisels usually have a longer handle than other types, which gives you more leverage when using them. Now that you know a little bit more about firmer chisels, here are some tips on how to use them: -For best results, use a mallet or hammer when striking the blade.
This will help prevent damage to the edge.
-When cutting into hardwoods, make sure to take shallow cuts so you don’t overstress the blade.
-If you need to remove a lot of material quickly, use firm taps with your mallet or hammer until you reach your desired depth.
Then switch to lighter taps to avoid damaging the edge.
Wood Chisel
A wood chisel is a tool that has many uses in woodworking. It is used to create joints, remove excess material, and finish surfaces. A chisel is composed of a blade with a beveled edge and a handle.
The blade is inserted into the workpiece at an angle and then hammered or levered to remove material. There are many different types of wood chisels available on the market, each designed for specific tasks. For example, paring chisels are used for delicate work such as removing small amounts of material from around door hinges.
Mortise chisels are used to create mortises (slots) forenoon joinery while firmer chisels are used for heavier-duty tasks such as chopping out waste material from dovetail joints. When purchasing a wood chisel, it is important to select one that is made from high-quality steel and fitted with a comfortable handle. The blade should be honed to a sharp edge and the overall length of the chisel should be appropriate for the task at hand.
Narex Chisels
Narex chisels are some of the best in the business. They’re made from high-quality materials and they’re built to last. You can use them for a variety of tasks, including woodworking, metalworking, and more.
Conclusion
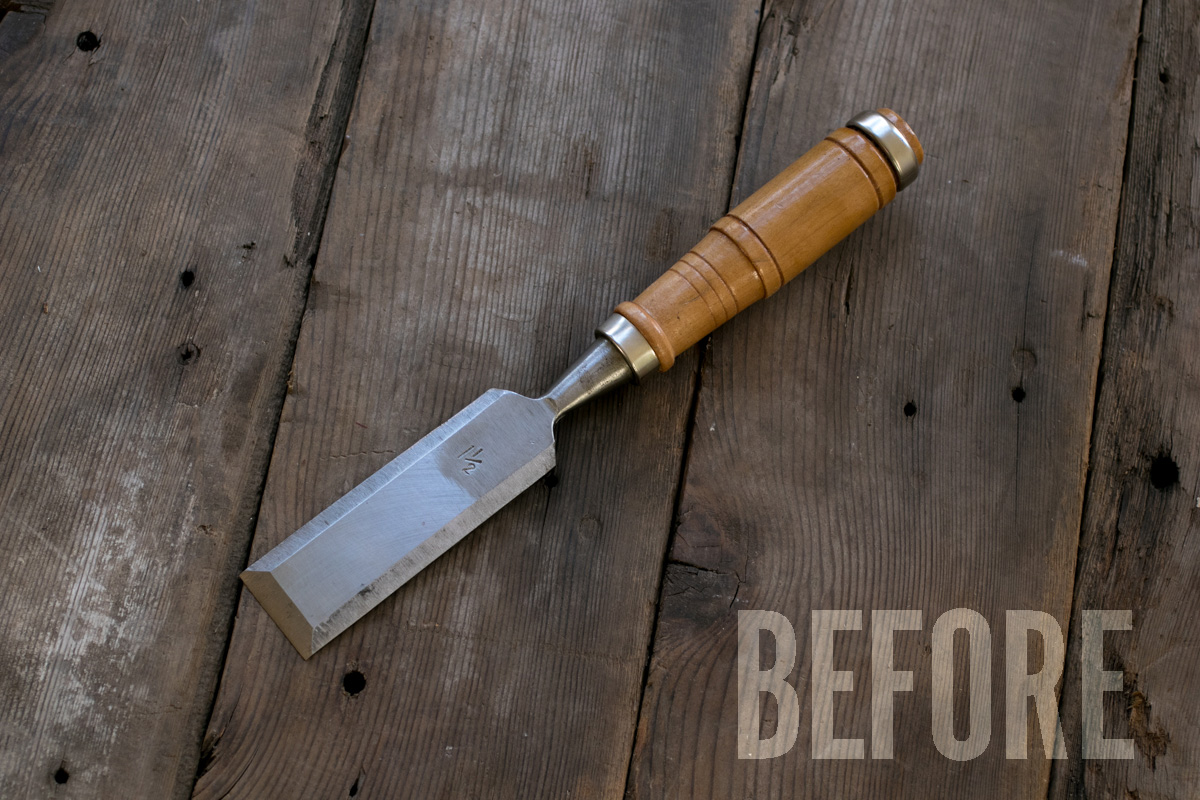
If you have an old chisel that you want to restore, there are a few things you can do to make it look like new again. First, use a wire brush to remove any rust or dirt that is on the surface of the chisel. Next, use sandpaper to smooth out any rough spots on the chisel.
Finally, use a sharpening stone to sharpen the blade of the chisel.